Leaves, Littles, and the Lord: A Love Letter to Fall
- Holleigh Locklyn
- Nov 18, 2025
- 4 min read
Updated: Dec 11, 2025

Hi sweet mamas!
We had a slow morning today — after sending Jace off to work with his homemade lunch (a Tri-Tip and radish sandwich with a beautiful salad using vegetables picked from the garden) and plenty of smiles and snuggles, the Littles and I took our time getting ready for the day, listening to worship music while getting dressed and making breakfast (Addisyn is obsessed with “Helping Mommy” these days, so she helped me mix the whole-grain pumpkin waffle batter. She was so proud! It’s truly a blessing to be able to teach my first born girl the joys and beauties of creating a happy and healthy home).


Afterwards we walked through the fallen Autumn leaves, and as I watched Bradyn scooping up large piles of them, I was struck with a complete sense of Peace. I could feel our Heavenly Father smiling down on us, holding us in His light. The breeze tickled my cheeks and blew the girls’ hair up, and I knew that was God whispering to me, “I am here. I am in everything. Can’t you feel it?”
Fall has always been my favorite season…the pumpkins, the colors, the scarves and the sweaters, the leaves and the comfort foods and the perfect amount of cold in the air. But my favorite thing about Fall is how it reminds us of God’s Glory and His Love. The cycle of death and rebirth encourages us to hold space for Jesus’ resurrection on the Cross. The season of Gratitude reminds us to be Grateful for our Salvation and to Thank God for all the many blessings He has gifted us. God’s Word is in everything – even the tiniest dead leaf blowing in the breeze along the path. I think of 2 Corinthians 5:17: "Therefore, if anyone is in Christ, the new creation has come: The old has gone, the new is here!" That is the greatest reminder of Fall: the reminder that when we walk in Christ, we will always have the chance to be reborn; he will never let us fall. Jesus sends the Autumn leaves, but He Himself never leaves.

And so, this is my love letter to Fall. To pumpkins and leaves and sweaters and scarves and quiet mornings making waffles…but no love letter would complete without remembering the truest and purest Love of all: God’s Love.

As we made our way back to the house for lessons and mid-morning chores, I saw Bradyn scoop up a handful of the prettiest leaves. Feeling inspired to preserve the memory of this beautiful day with my children and my moment of communion with the Lord, I decided on a whim to press and preserve some of the leaves. Here’s how you can make your own pressed Autumn leaves!
How to Make Pressed Autumn Leaves

What You’ll Need:
Freshly fallen autumn leaves (not too dry or brittle)
Paper towels or blotting paper
Heavy books (like the family Bible!)
Optional: wax paper or parchment paper
Optional: clear contact paper or Mod Podge (for sealing)
Scissors (for trimming)
Instructions
Step 1: Collect Leaves
Pick leaves that are freshly fallen or still slightly soft. Avoid ones that are already dry, curled, or crumbling.
Choose leaves with vibrant fall colors – reds, oranges, yellows, and multicolored ones work great.
Step 2: Clean the Leaves
Gently wipe both sides of the leaves with a damp paper towel to remove dirt and bugs.
Pat them dry with a clean towel.
Step 3: Prepare for Pressing
Place each leaf between two sheets of paper towel, blotting paper, or parchment paper.
You can stack multiple leaves, just make sure there's paper between each layer to absorb moisture.
Step 4: Press the Leaves
Place the paper-covered leaves inside a large heavy book.
Add a few more books or a heavy object on top to increase pressure.
Keep the book in a dry, cool place.
Step 5: Wait
Leave the leaves to press for 7–10 days. Check them around day 5 to ensure they’re drying well (but don’t move them too much).
Optional: Preserve & Display
If you want to preserve the color and make them long-lasting:
Option 1: Seal with Mod Podge
Brush a thin layer of Mod Podge over both sides of the leaf after pressing.
Let dry completely before using in crafts.
Option 2: Laminate or Use Clear Contact Paper
Sandwich the leaf between two sheets of clear contact paper and trim around it.
Great for bookmarks, window art, or framed decor.
Ideas for What to Do With Pressed Leaves
Frame them for seasonal wall art
Use them in journals or scrapbooks
Make autumn greeting cards
Create garlands or wreaths
Laminate for nature bookmarks
Share your pressed leaves with the Home Sweet Holleigh community! Comment below or engage on social media! Find me on Instagram and TikTok at @homesweetholleigh
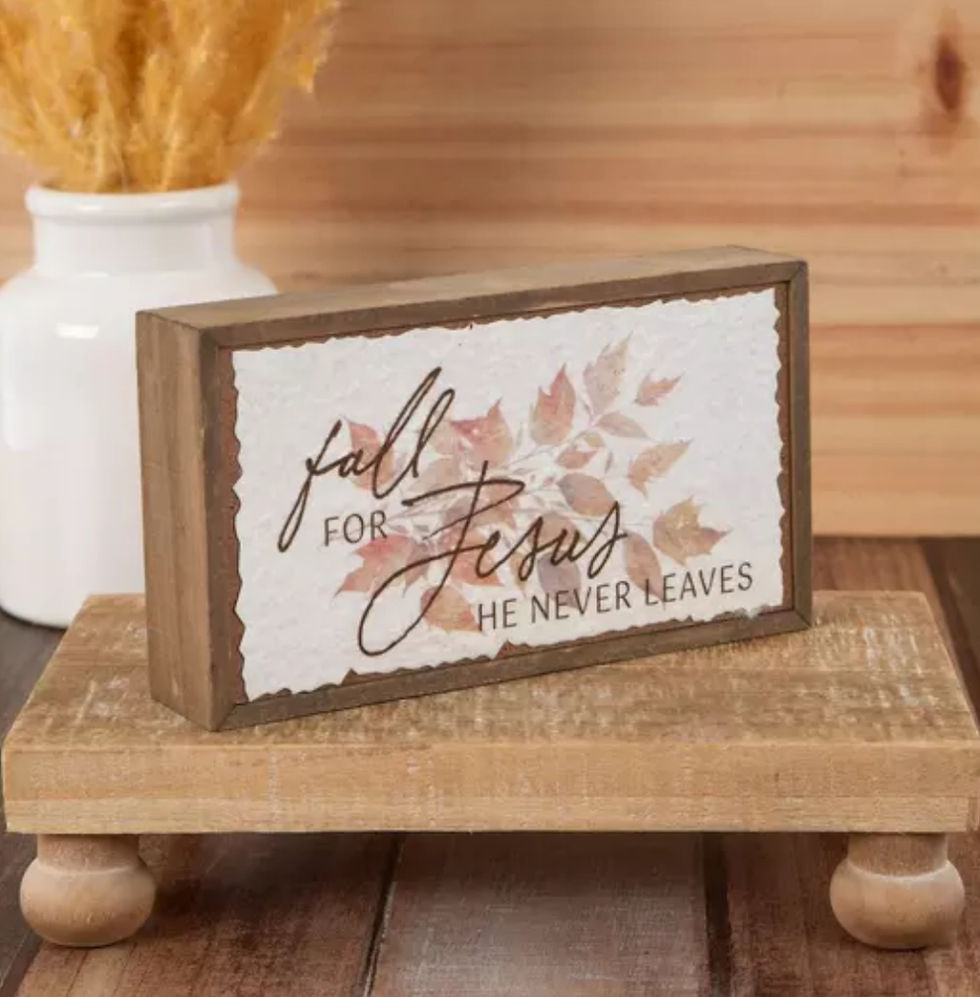
Want to make your Autumn extra Festive this year?
Check out these gorgeous Fall-themed signs from my happy place, Hobby Lobby! Can you tell which one is my favorite?


For the Littles!
Amazing fall activities to do with the kids from Hobby Lobby!


remember to always find meaning in the small things


Comments